Plex + Rclone + Onedrive to create home multimedia tutorials

Introduction: Because the home NAS may face power outages or unavailable problems in a business trip environment, I have studied the use of low-profile vps to build plex home streaming media, mounted on Rclone , and the current use effect is excellent.
Using Centos7 64-bit system and turning on BBRPlus, my configuration is as follows:

  1. Processor  : Intel(R) Xeon(R) CPU E5-2650 0 @ 2.00GHz
  2. CPU cores  : 2 @ 1999.999 MHz
  3. AES-NI     : ? Enabled
  4. VM-x/AMD-V : ? Disabled
  5. RAM        : 984.5 MiB
  6. Swap       : 0.0 KiB
  7. Disk : 19.6 GiB    

1. Download and install the plex:

  1. HTTPS : //www.plex.tv/media-server-downloads/

1. Install PLEX with rpm command:

  1. wget https://downloads.plex.tv/plex-media-server-new/1.25.1.5286-34f965be8/redhat/plexmediaserver-1.25.1.5286-34f965be8.x86_64.rpm
  2. rpm -ivh plexmediaserver-1.25.1.5286-34f965be8.x86_64.rpm

2. After the installation is complete, use xshell to do local port forwarding and log in to the web-side plex to continue the installation. Refer to the figure below. Notice! You must forward the login locally to complete the installation, otherwise the plex server will not be found!
Plex + Rclone + Onedrive to create home multimedia tutorials

3. After the setting is complete, use xshell to log in to vps again, open the browser and enter the address below, log in to the account and continue the installation

  1. HTTP : //127.0.0.1:32400/web


2. Install Rclone and mount OneDrive : https://rclone.org/install/

1. Official website installation command:

  1. curl https://rclone.org/install.sh | sudo bash


2. Install fuse (the local hard disk at the mount location must have fuse support, otherwise an error will be reported when you run the mount command):

  1. yum -y install fuse


3. After the installation is complete, you can use the following commands to manage in any directory (if you manually create a new mount, the relevant management methods are the same as before, refer to this article):

  1. rclone config


4. Obtain authorization and add OD to Rclone.
Method 1. For authorization, refer to the following address: https://www.moerats.com/archives/491/
Method 2. If there is a configured authorization and rclone.conf file, like I can just create the configuration file directly:

  1. vi / root /. config / rclone / rclone . conf


Paste the backed up rclone configuration and save it. The following is the format of my configuration file for reference only (make a backup of the access_token, and then remount it and save it directly by creating a new configuration file):

  1. #OnedriveHome Edition
  2. [ from ]
  3. type = onedrive
  4. egion = global
  5. token ={"access_token":"EwBoA8l6BAAUwihrrCrmQ4wuIJX5mbasdasdasdasdasd8d5T7pSmWs1QJFwa9pr2R+utBVAD6lvmNoaCgsIoSwX1cf/IaIRy87a4t35cGEdm+aq5deT2Aasdasdasdasd2RxirG4jGeiOh4EWtL5yFmOeRd9oGpdngQ7G8uREL6Ff/DFqOCvlqu43T7uldmo+cgG9ZBtZQ+ik8X0CZ/0LDVxSbzbMMX3rM55A8DA3masdasdasds:"2021-11-08T11:36:07.9934596+08:00"}
  6. drive_id = 982asdasdasdasdasd
  7. drive_type = personal</p>


5. Rclone mount command: #Create a
new local folder, set the path yourself, that is, the following LocalFolder, replace it by yourself

  1. mkdir /LocalFolder


#Mounting as a disk, the following DriveName, Folder, LocalFolder parameters are replaced according to the instructions

  1. rclone mount DriveName:Folder LocalFolder --allow-non-empty --no-gzip-encoding  --umask 000 --allow-other --attr-timeout 10m --vfs-cache-mode full --vfs-cache-max-age 1m --vfs-read-chunk-size-limit 100M --buffer-size 100M --vfs-cache-max-size 10G


Here you can refer to my mount command (mount od configuration, mount od root directory, map local address to / OneDrive ):

  1. rclone mount od:  /OneDrive --allow-non-empty --no-gzip-encoding  --umask 000 --allow-other --attr-timeout 10m --vfs-cache-mode full --vfs-cache-max-age 1m --vfs-read-chunk-size-limit 100M --buffer-size 100M --vfs-cache-max-size 10G

3. Matters needing attention (the pits I have stepped on):

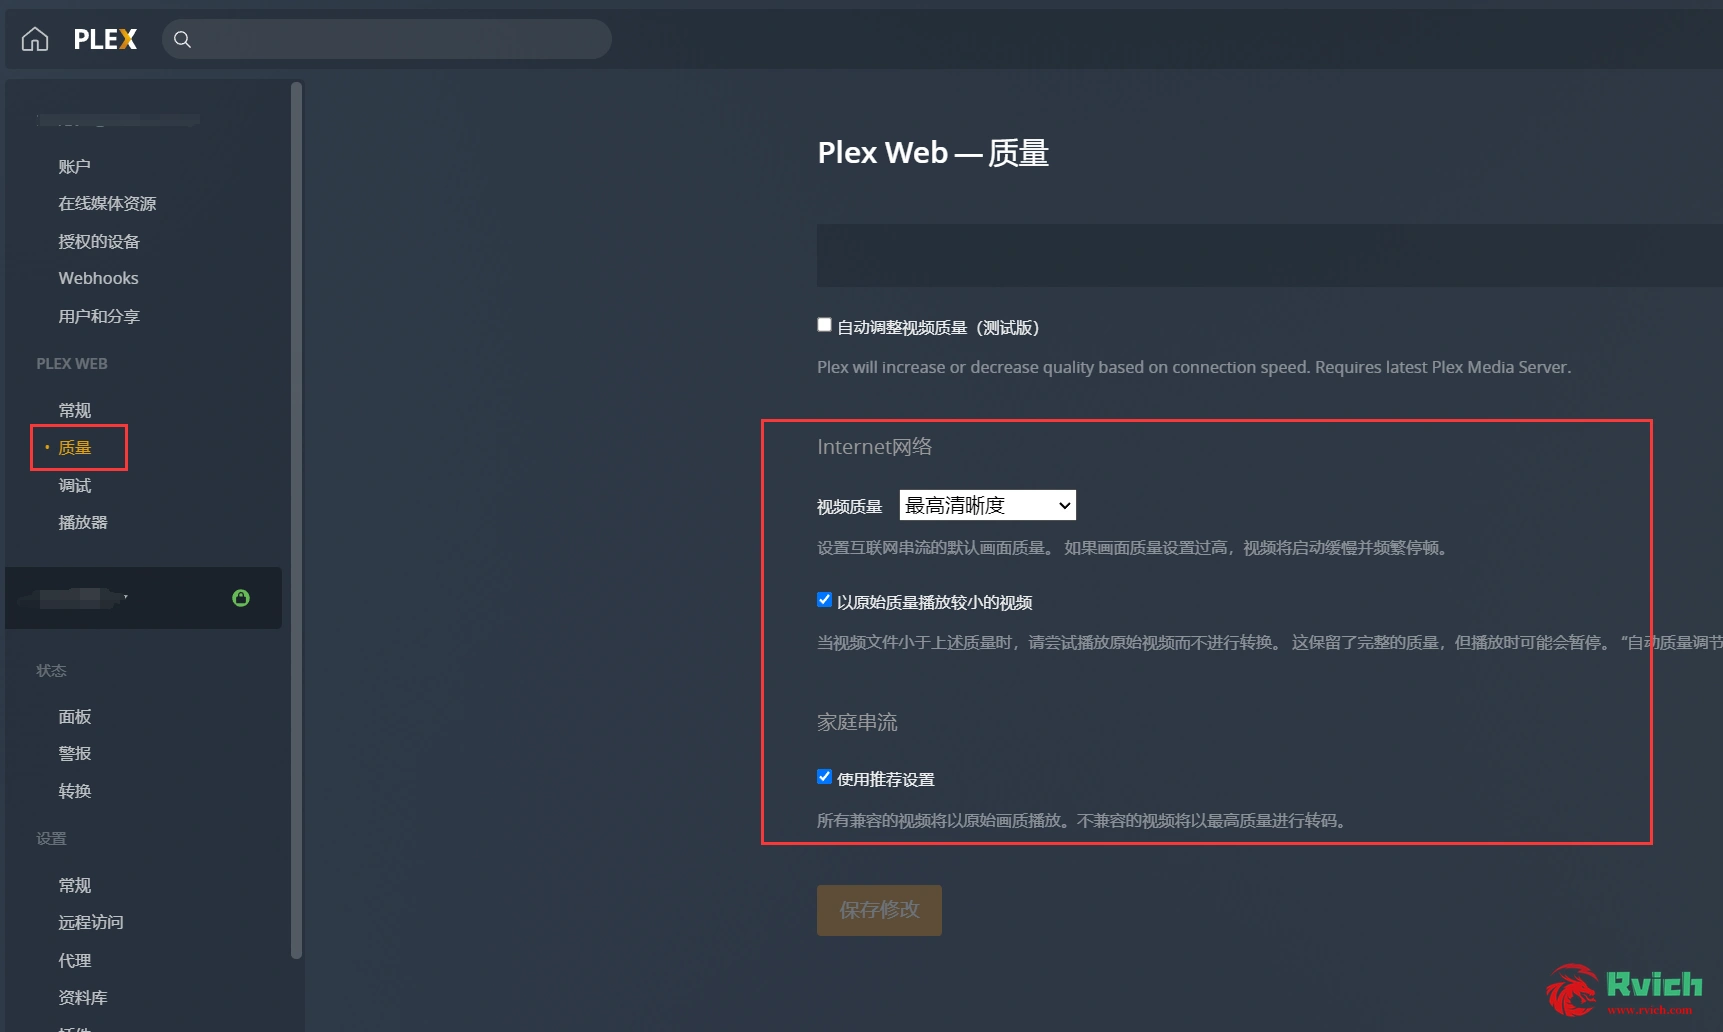
1) The chicken configuration is low and cannot be transcoded on the server. The requirement for vps to the local network is high. Set the original picture to play directly. For the plex setting, refer to the following figure:
Plex + Rclone + Onedrive to create home multimedia tutorials

2) When creating a new local mount folder, it must be created in the root directory. Creating a new folder in the root directory may cause the plex server to fail to read the mounted files

3) Analysis of some mounting parameters

--vfs-cache-mode full #Turn on vfs cache, this cache occupies local storage space
--vfs-cache-max-age 1m #Cache time, it is recommended to set a little bit smaller, otherwise the video may cause my 20g to be full
--vfs-read-chunk-size-limit 100M #Cache block size, every time the block reaches 100M, the OD API will be called again. Set a larger size to reduce calls. Set as
needed --vfs-cache-max-size 10G # The maximum cache size, I set 10G, it will not fill up my 20g small disk

4) If the local disk is filled with the cache, the video cannot be played on the plex, you can manually delete the cache file in the following path:

  1. rm -rf /root/.cache/rclone/vfs/*


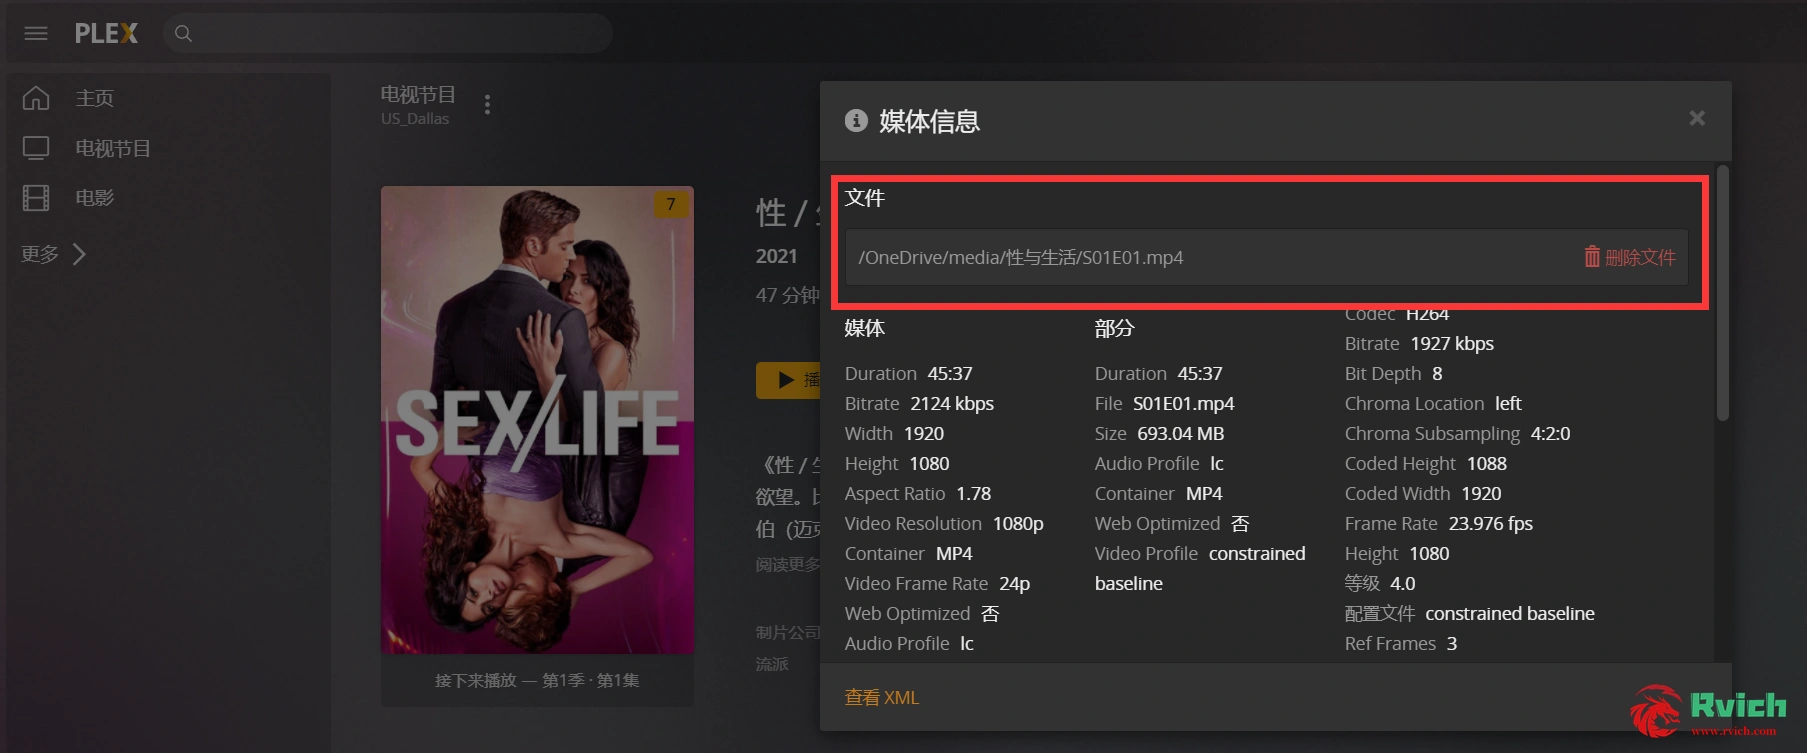
5) Some videos played on the web page can only be transcoded and played. Pay attention to the video source format stored in OneDrive, or use the client to play directly. In the actual measurement, I installed the plex on the TV box to install the client to stream 4k video in mp4 format. A stable ratio.

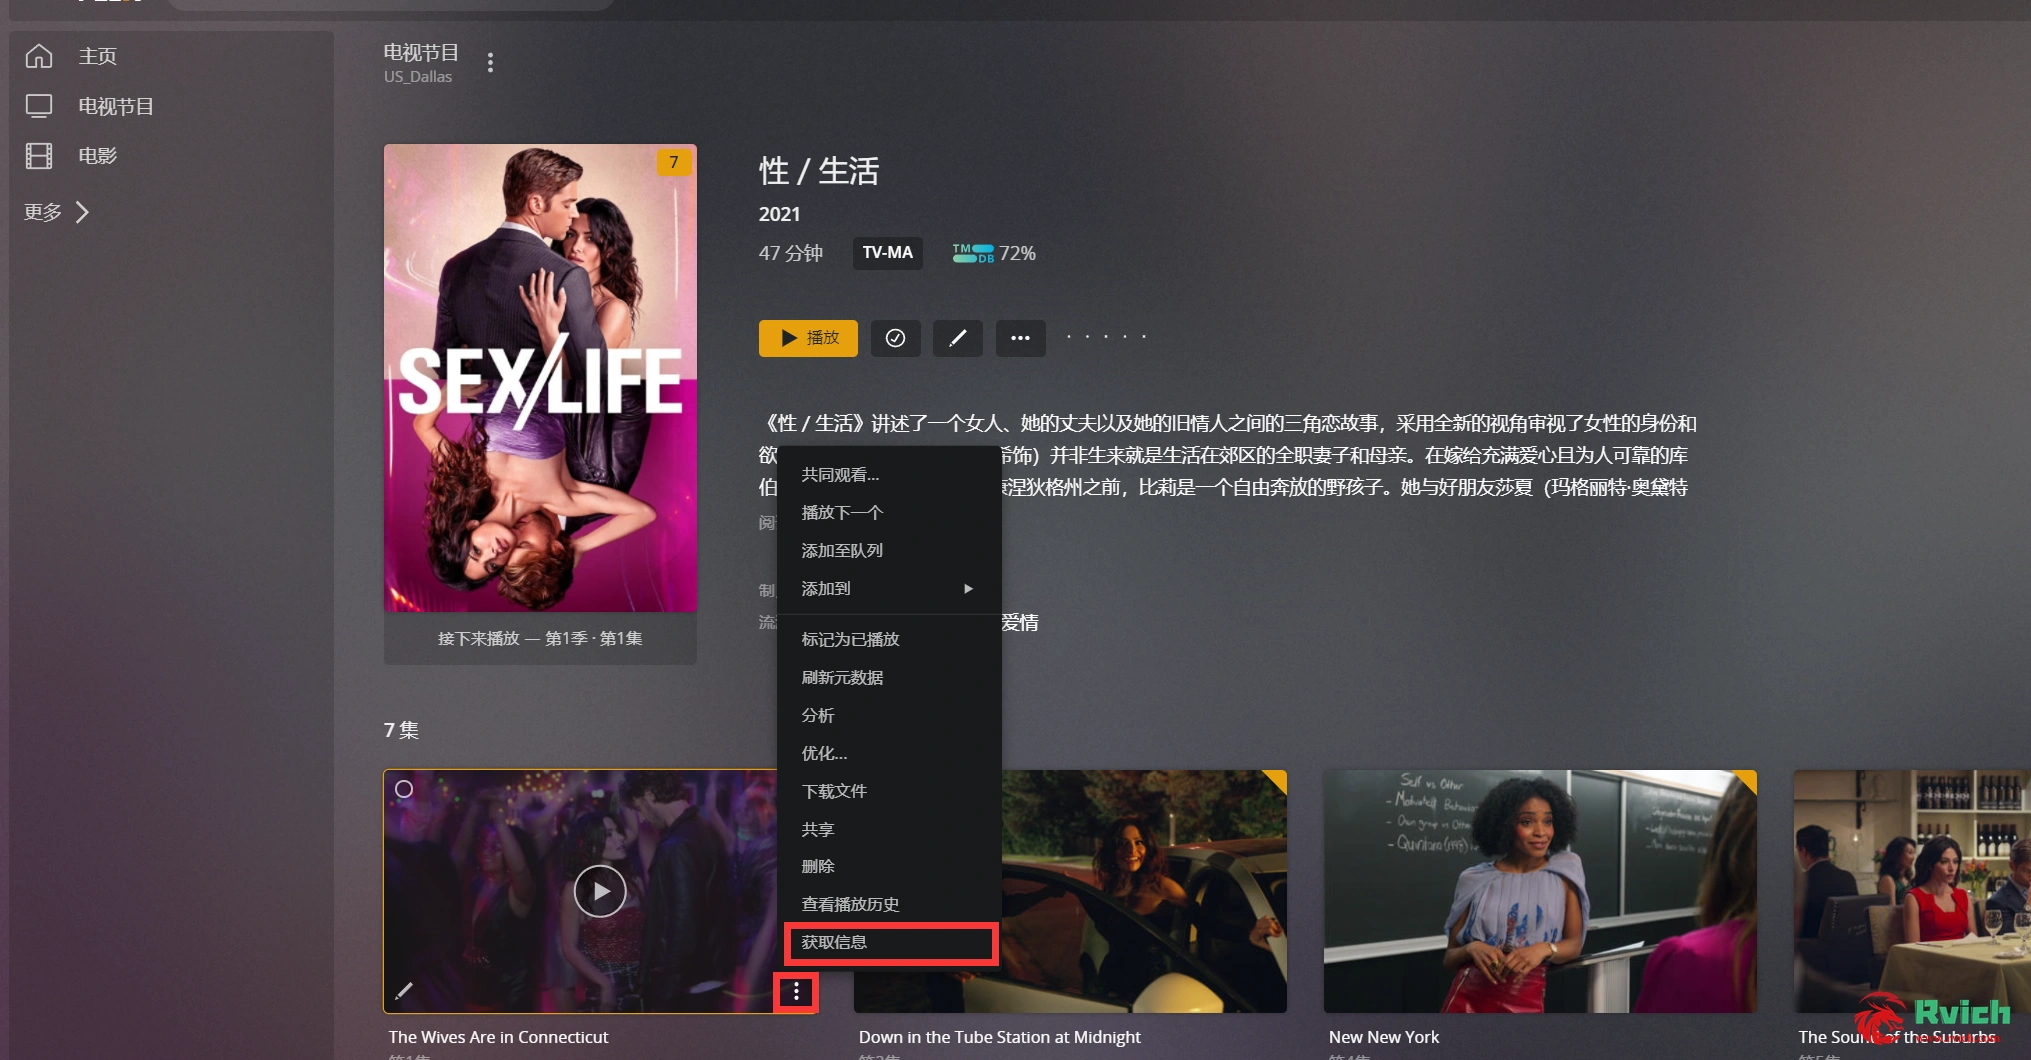
6) It is recommended to use the default plex tv for the scraper. If the scraping is wrong, use the "correction matching" function to scrape it manually.

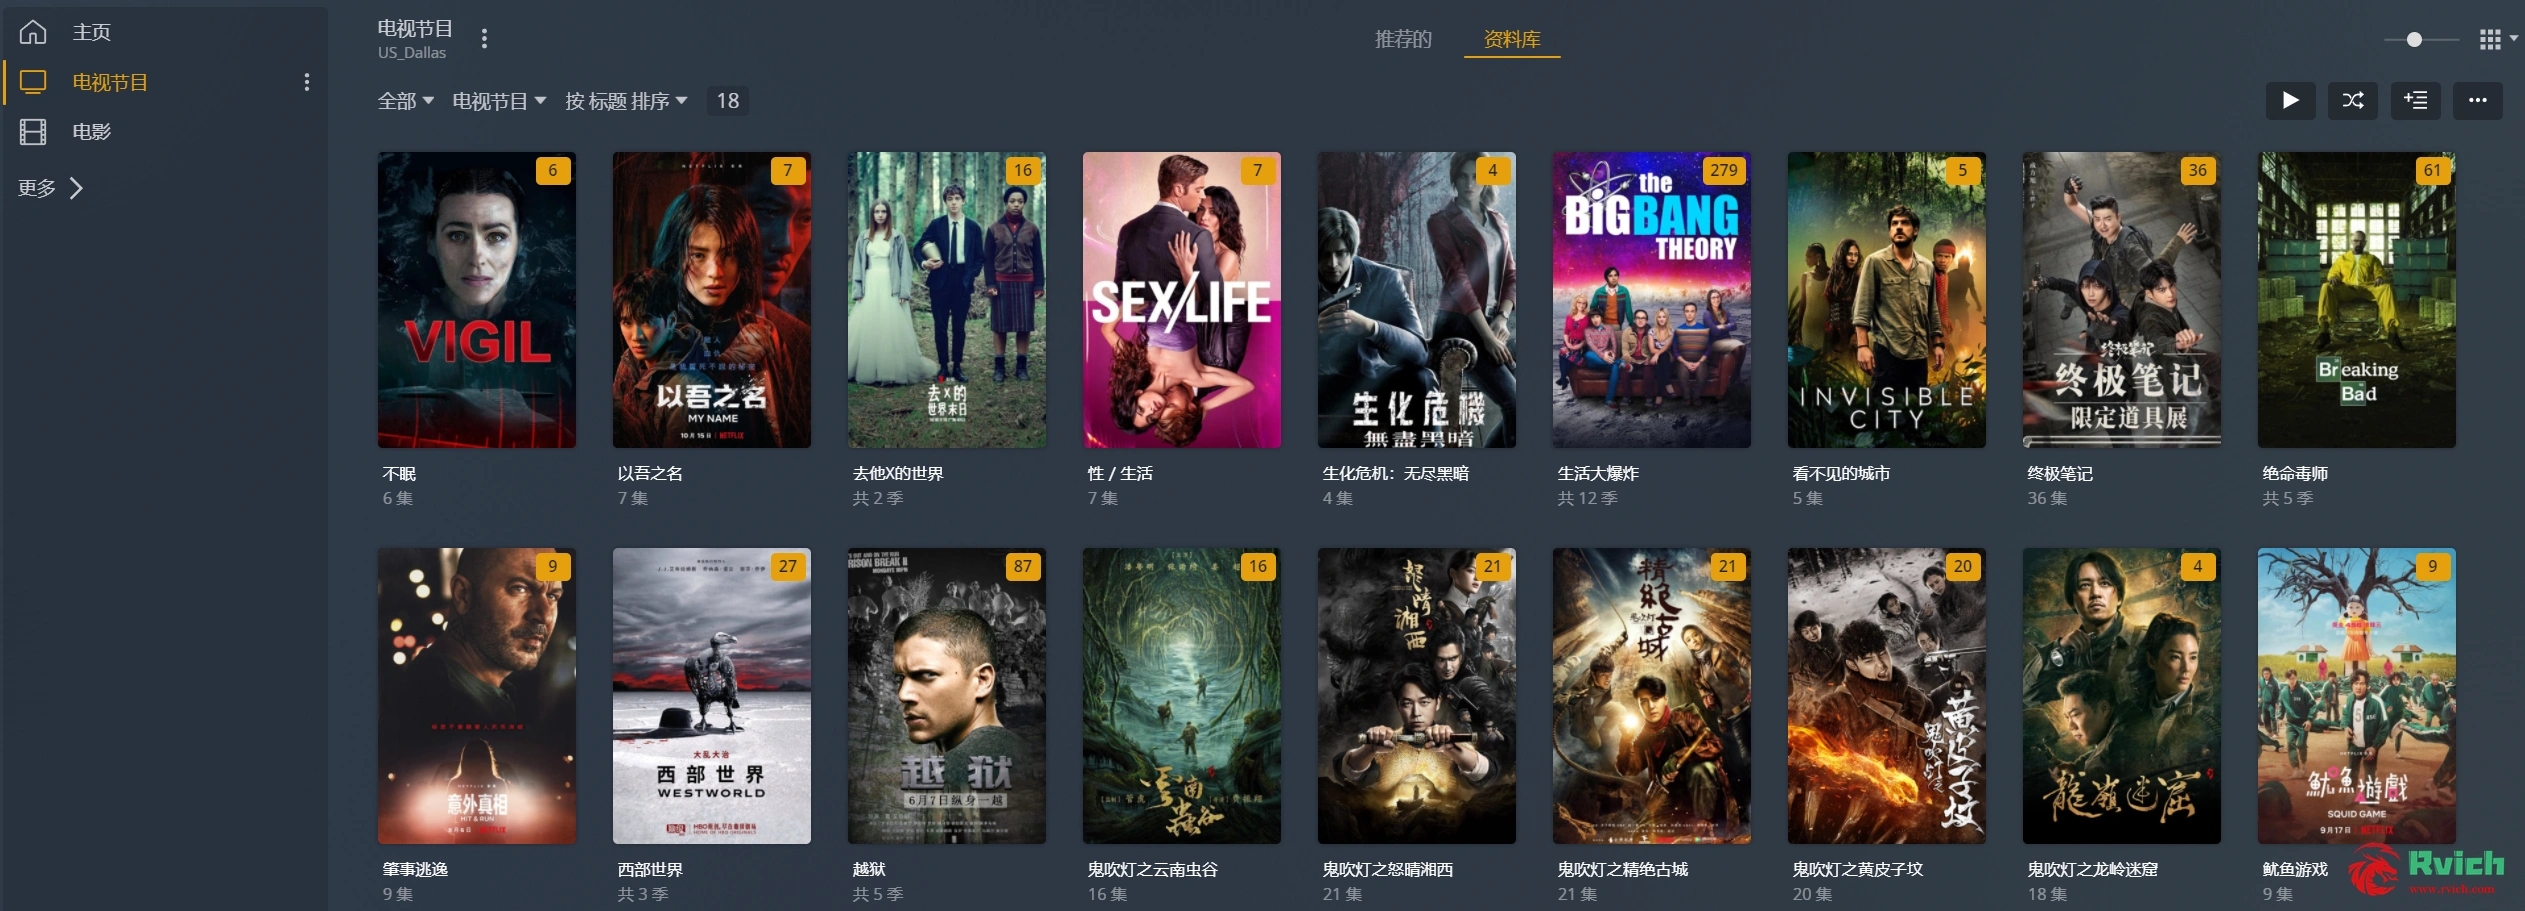
7) What should I do if the episodes in the two folders are recognized as one? Manually separate and manually select the episode information. The two files in the red circle in the figure below are wrong. Be careful not to delete the files! If you delete the file, your source file is gone! Just select Separation in the episode options! !
Plex + Rclone + Onedrive to create home multimedia tutorials

8) How to remount after exiting? After exiting rclone, the permission of the mount directory is still there, and it cannot be deleted and used. First use Ctrl+c to exit the mount, and then use the following command to cancel the mount directory. (The path of the following command is what I am using, modify it as needed)

  1. fusermount -qzu /OneDrive


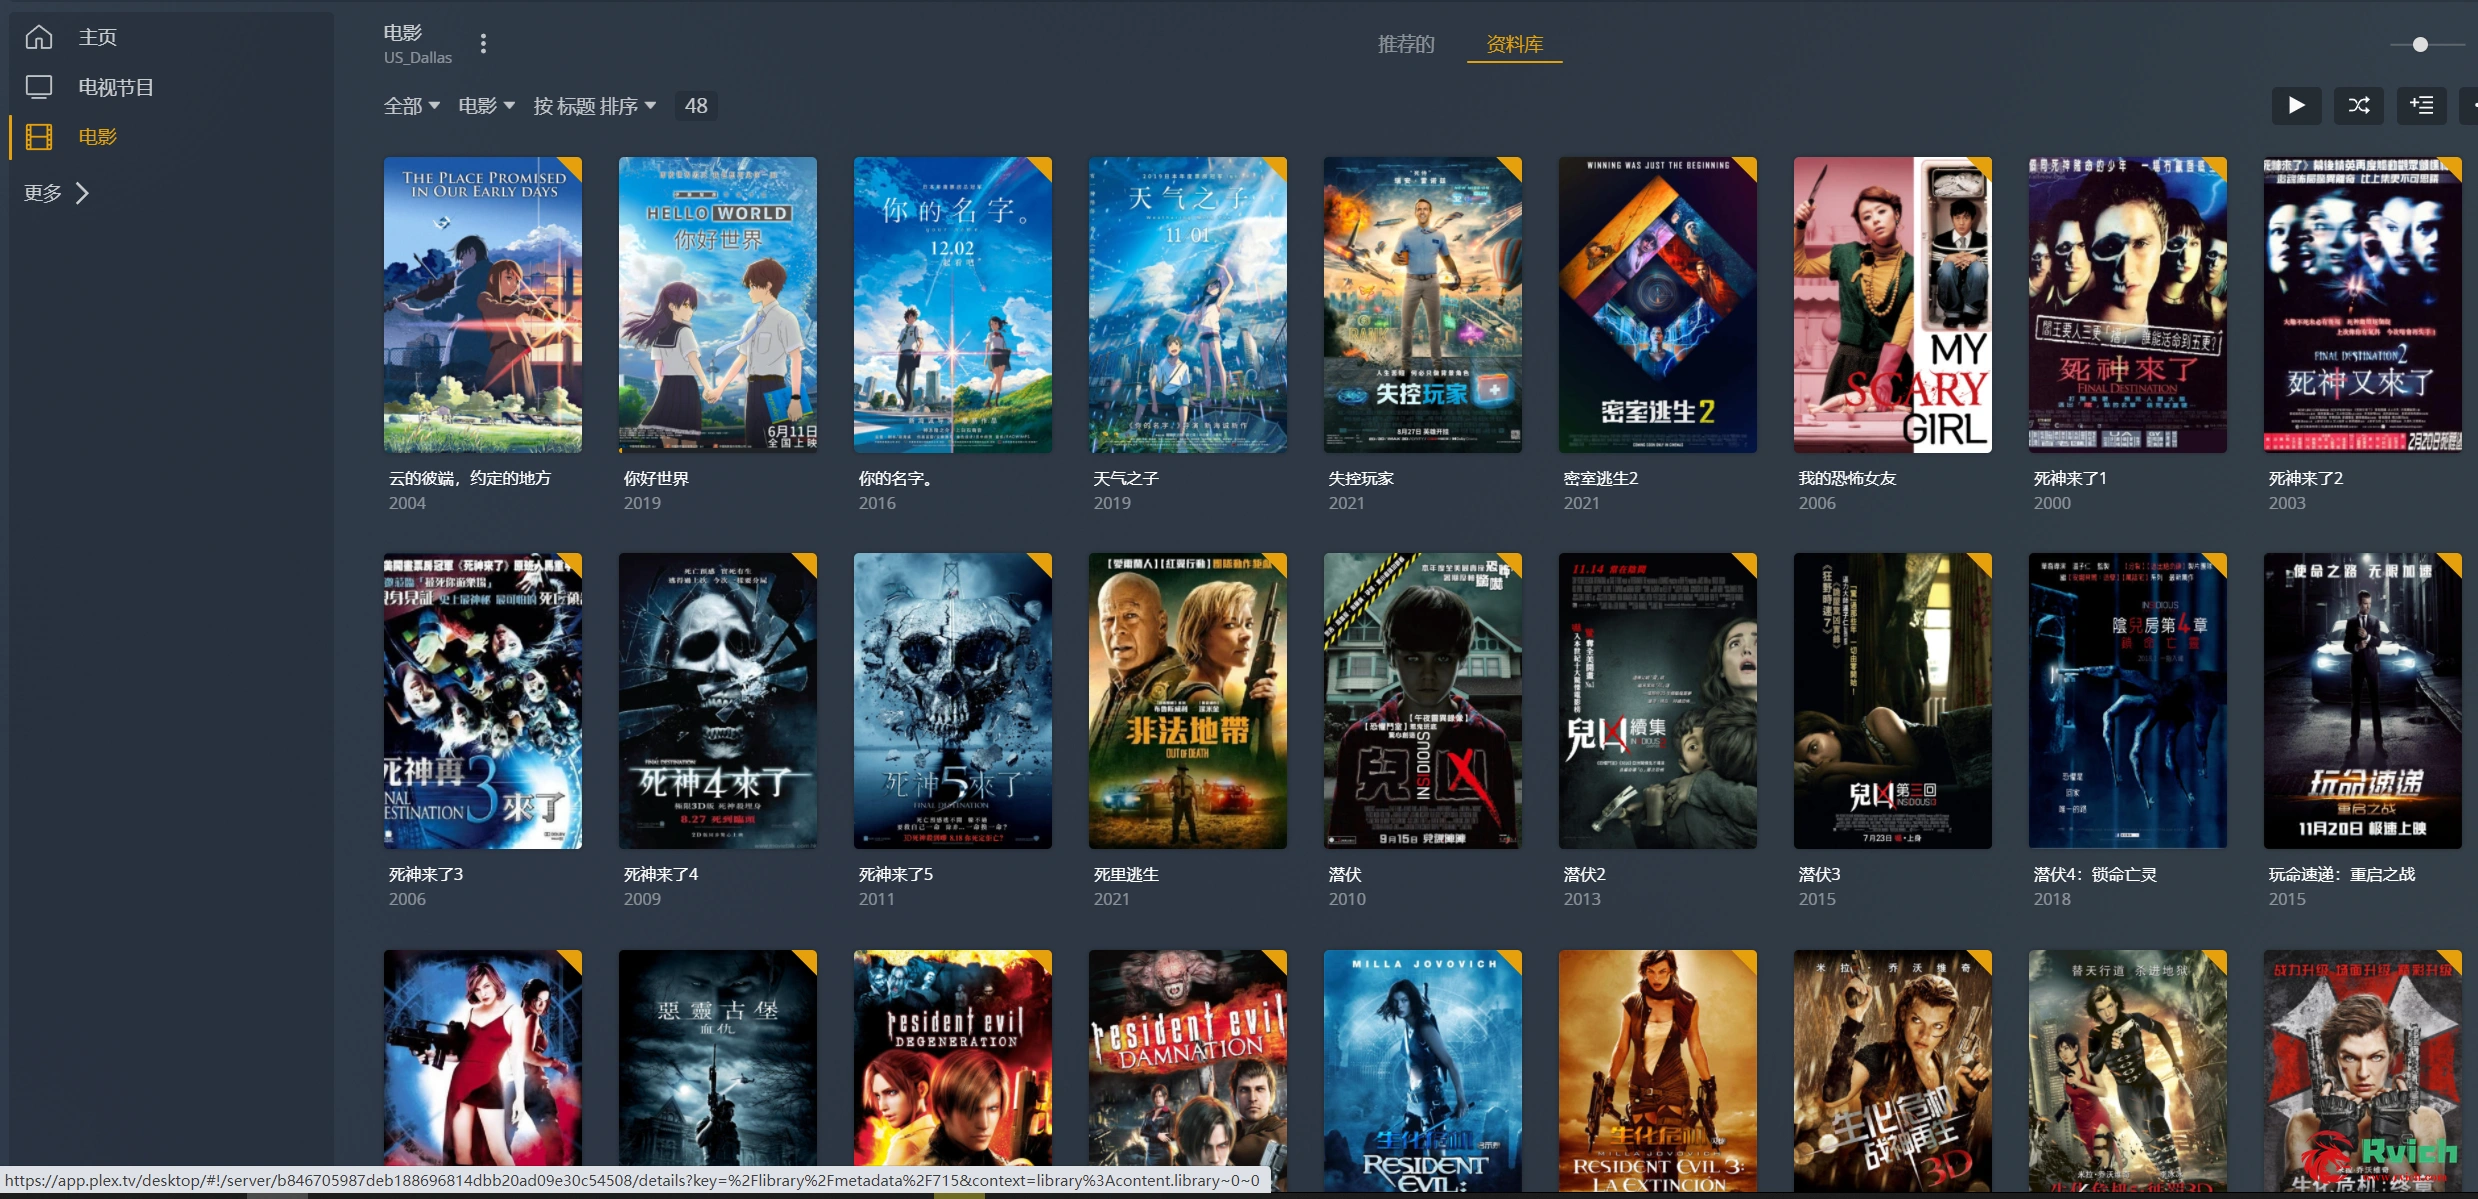
Finally, I wish you all success in setting up your own media center, the effect is as follows

Plex + Rclone + Onedrive to create home multimedia tutorialsPlex + Rclone + Onedrive to create home multimedia tutorials

Free tutorial on building a personal blog Hexo on Cloudflare Worker

 Cloudflare Worker is a serverless cloud service provided by Cloudflare. The latest Workers Sites allows users to deploy blog programs such as Hexo, Wordpress, etc. to the Cloudflare cloud to run. This tutorial takes Hexo deployment as an example, which has a Node environment by default.

Install Wrangler, the deployment program provided by Cloudflare

Install Wrangler

  • Wrangler's project address: github.com/ cloudflare /wrangler
  • Follow the official tutorial, use npm to install Wrangler, type in the console
    1. $ npm i @cloudflare / wrangler - g #Global installation
    2. $ # npm i @cloudflare/wrangler #If the default environment cannot be installed globally, you can use this partial installation command,

    在工程目录需使用npx调用

  • Install Wrangler in cargo mode (not used)
    1. $ cargo install wrangler

Get Cloudflare api key

Create a new api-token in Cloudflare's api console, click New api-token, and select Start with a template.

Use the Edit Cloudflare Workers template to create a new api, configure the corresponding permissions to obtain a new api-tokens, save it for future use.

Free tutorial on building a personal blog Hexo on Cloudflare Worker

Configure Wrangler Global Key

  • Console execution
    1. $ wrangler config

Enter the api-tokens you just saved and run the verification to complete all configurations.

Initialize Wrangler

  • Execute in the project directory terminal
    1. $ wrangler init - site my - static - site #my-static-site is replaced with the name of the Works to be created
    2. # $ npx wrangler init --site my-static-site #Use this command for partial installation, the usage is as above

Executing this command will generate wrangler.toml and aworkers-site in the project directory, where wrangler.toml is the Wrangler configuration file in the project.

Configure Wrangler

Simple setting of Wrangler.toml

  • The default generated wrangler.toml is as follows, which can be set according to
    1. name = "site" #Here is the name of the Workes previously filled in
    2. type = "webpack"
    3. account_id = "" #Fill in your Workers ID here and find it in the Workers panel
    4. workers_dev = true
    5. route = "" #Here is the personalized domain name area
    6. zone_id = ""
    7. [ site ]
    8. bucket = "public" #Fill in here the default generated directory file of the Hexo program
    9. entry - point = "workers-site"

Configure a personalized domain name

You don’t need to fill in this step and use the default Workers domain name

  • Write wrangler.toml according to the following prompts
    1. zone_id = "42ef.."
    2. route = "example.com/*"

When setting a custom domain name, you can add the corresponding Workers route in the Workers setting in the domain name management after the wrangler configuration is completed, and then adjust the SSL security level to Flexible, otherwise you will encounter an SSL 526 error.

Upload the entire site to Cloudflare Workers

Use Hexo to generate a static file

First, use Hexo to generate a static file in the project directory to generate a public file. If it is not produced, an error will be reported in the next upload.

Upload Public to Cloudflare

Run in the console

    1. $ wrangler publish

Prompt the following to complete all running operations.

    1. Using namespace for Workers Site "__site-workers_sites_assets"
    2. Uploading site files
    3. Success
    4. Installing wranglerjs ...
    5. Installing wasm - pack ...
    6. Built successfully , built project size is 11 KiB .
    7. Successfully published your script to https : //*.workers.dev #Here is the generated preview address

The Hexo demo program deployed in Workers: https://test.pv.workers.dev/. The static files generated by the demo program are stored in the corresponding Workers KV.

Precautions

Note that the free version of the Workers Plan has a daily access limit of 100,000 (100,000 requests per day). The free quota is suitable for small site deployment (large traffic is easy to rollover), and large sites still use a dedicated server or a paid version to deploy more stably.